Starting with Vue.js using vue-cli
Pre-requisites:
Have a working node installation.
Vuejs is a really popular Javascript Framework and it comes with really neat tools to help developers be productive.
One of those tools is Vue-cli that can help us to bootstrap our project with a nice structure and sane defaults.
We can install it globally using the following command:
npm install -g @vue/cliOnce the installation is complete we will have access to the vue command. To start a project simply type:
vue create my-awesome-project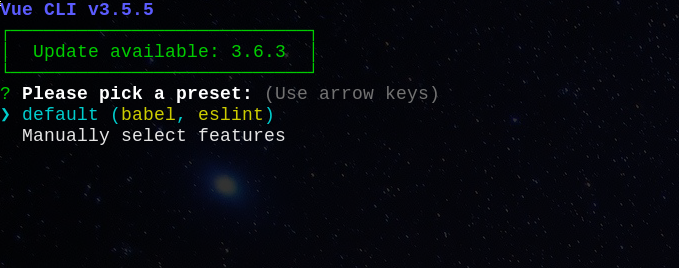
You can set a default preset than only has a basic setup with babel and eslint. You can also choose the Manual setup and choose the features that you like.
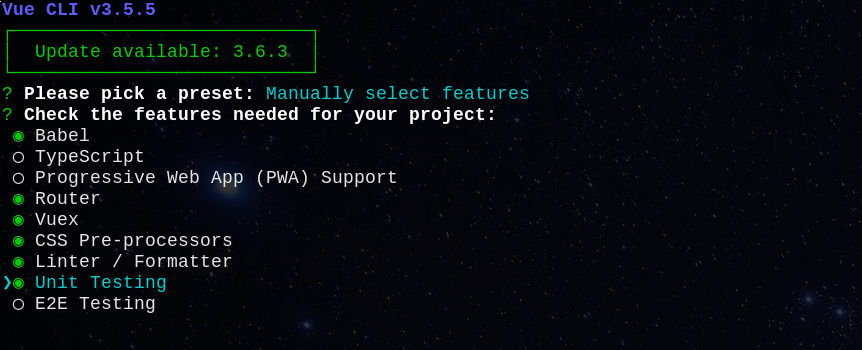
Let’s say that we want to build a SPA so lets choose the features that we need:
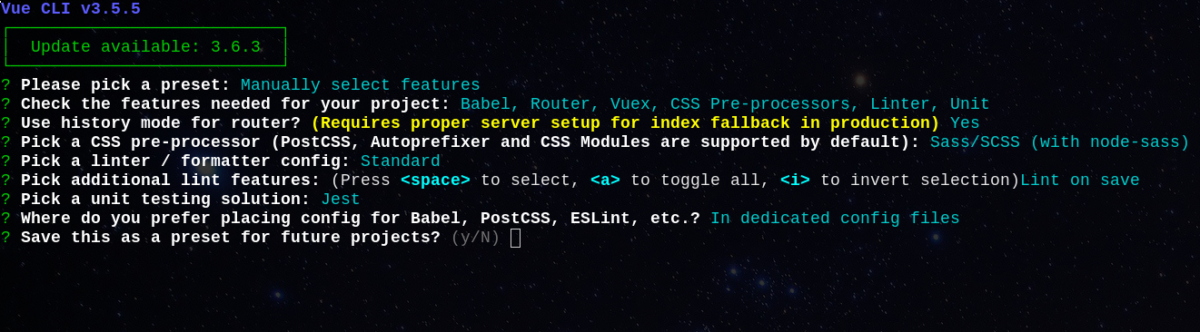
Depending on the selections you will be prompted to further customize different aspects of the project configuration with an option to save your selections for future use.
Once it finish installing all dependencies we will end up with the following project structure:
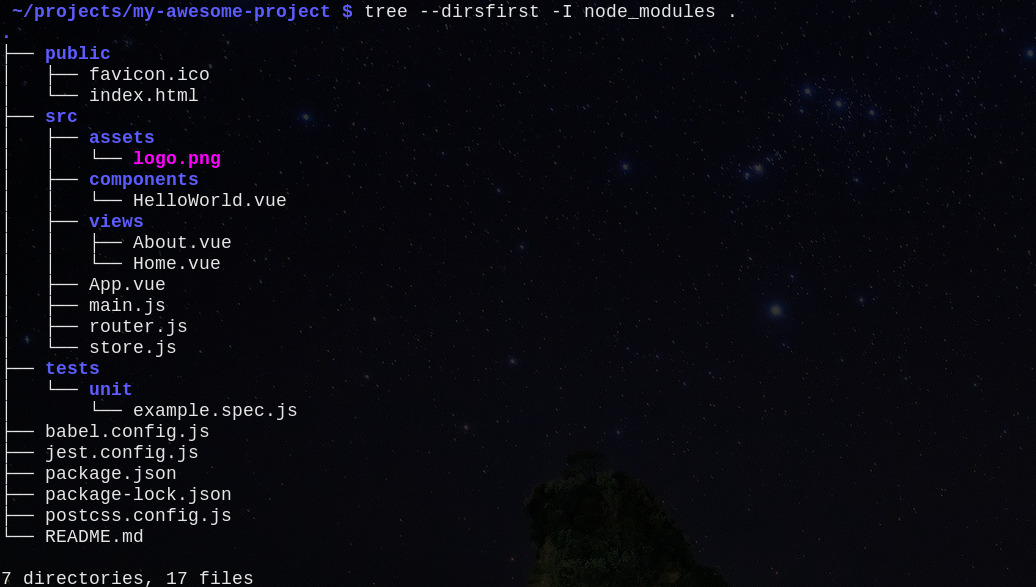
- Public files that will be served directly by our web server will be placed on public directory.
- Our source code will live under src directory:
- View Components will be placed under src/views
- Common Components will be placed under src/components
- Vue-Router config is located under src/router.js
- Vuex config is located under src/store.js
- Assets like images, fonts, css, etc will be placed under src/assets
- src/main.js is the entry point of our application.
- App.vue is the main component of our application.
Also vue-cli provides us with really useful commands to manage our project during development time. The most notable commands are serve and build.
The serve command will start up a local web server that automatically lints and compiles our template files when they change . You can invoke it with npm
npm run serveWe will use build command to minify and optimize our assets for production use.
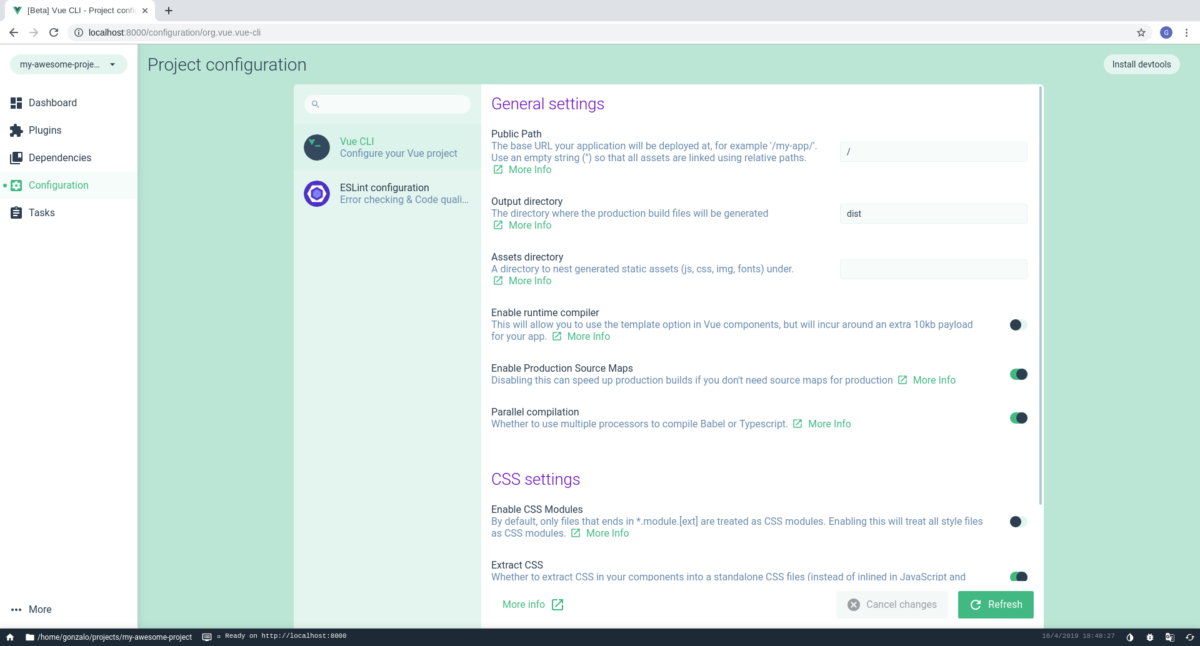
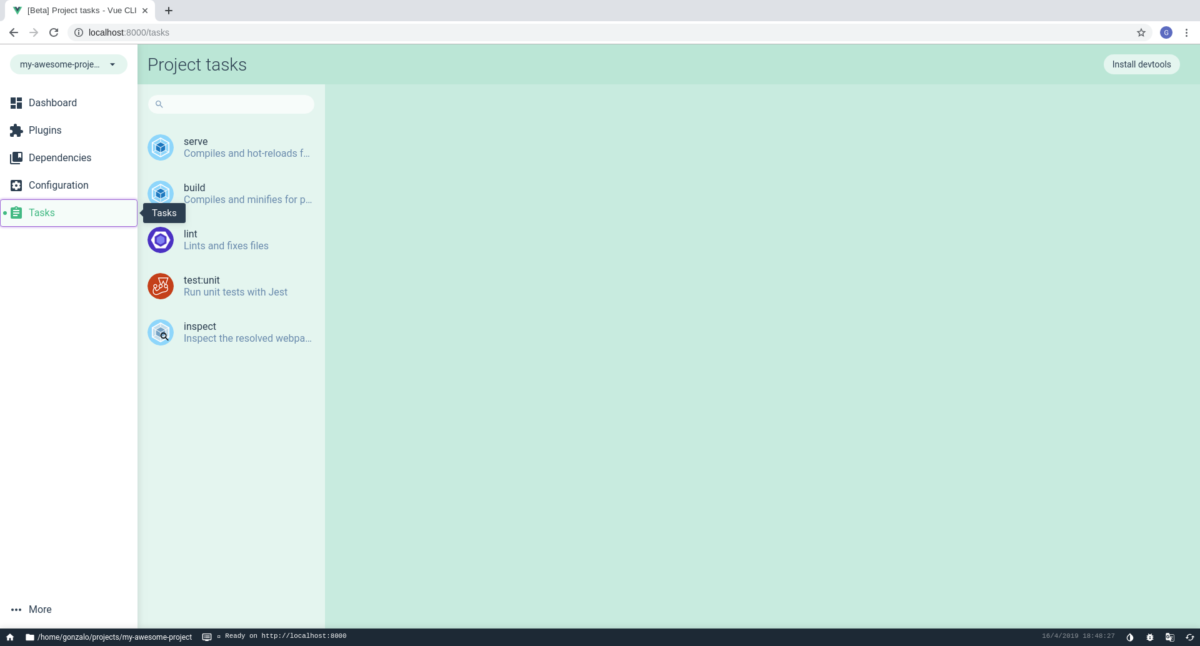
Vue-cli UI
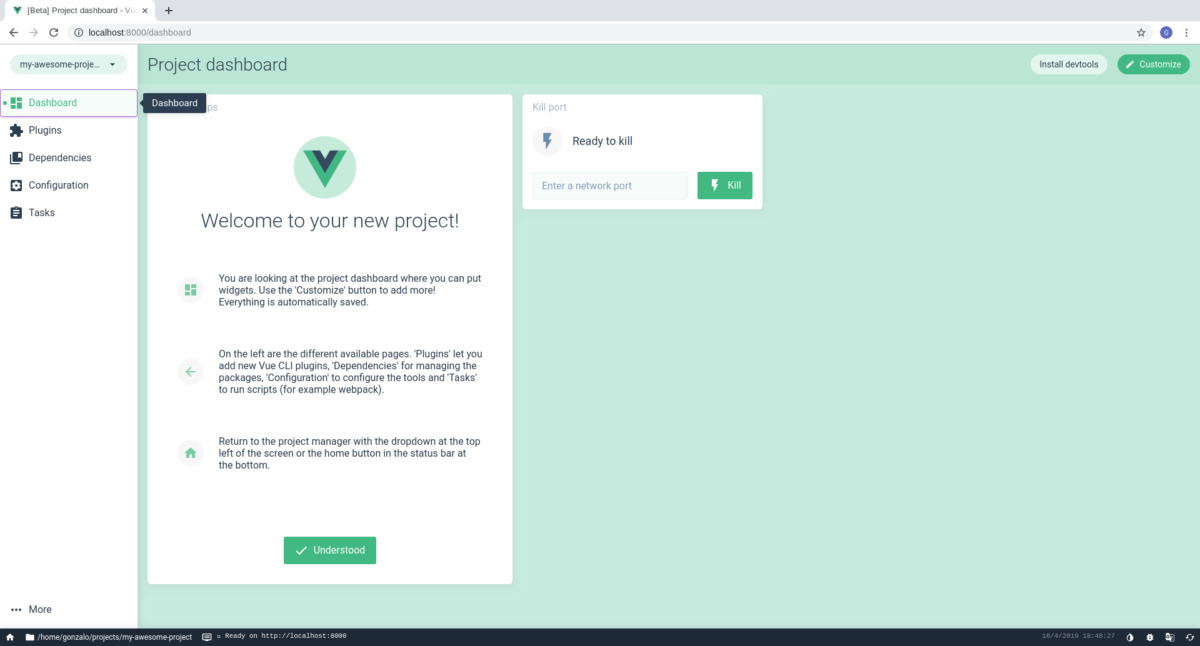
Vue-cli also provides a ui version if you don’t like working on the terminal that much. You need to invoke it using the following command:
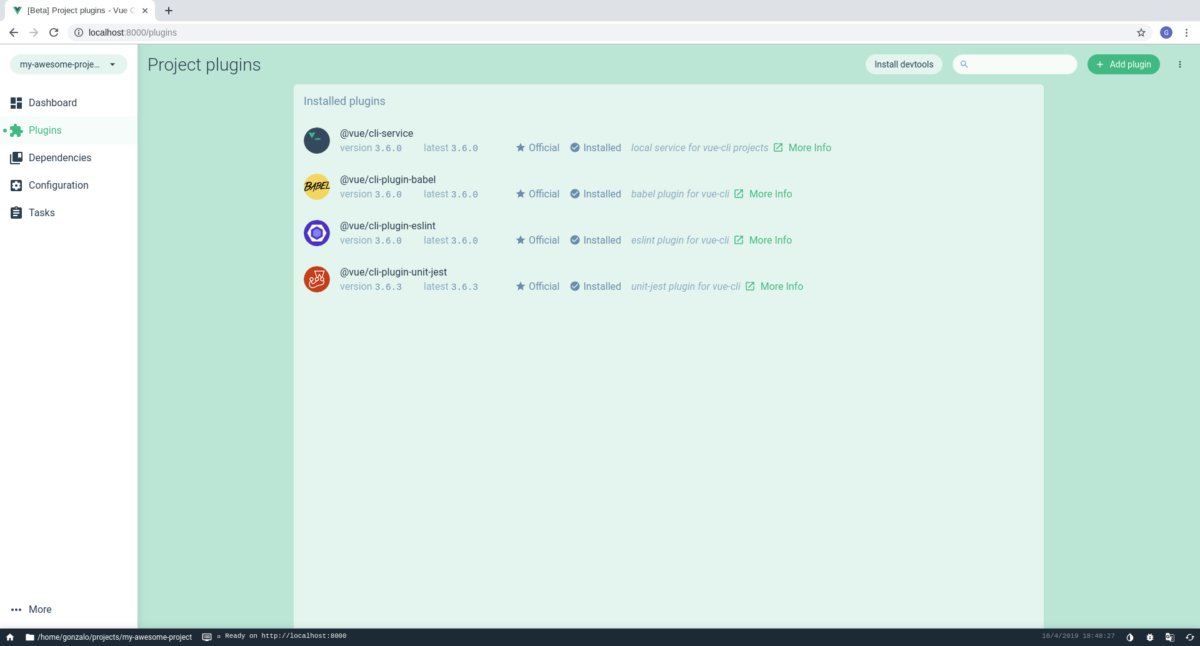
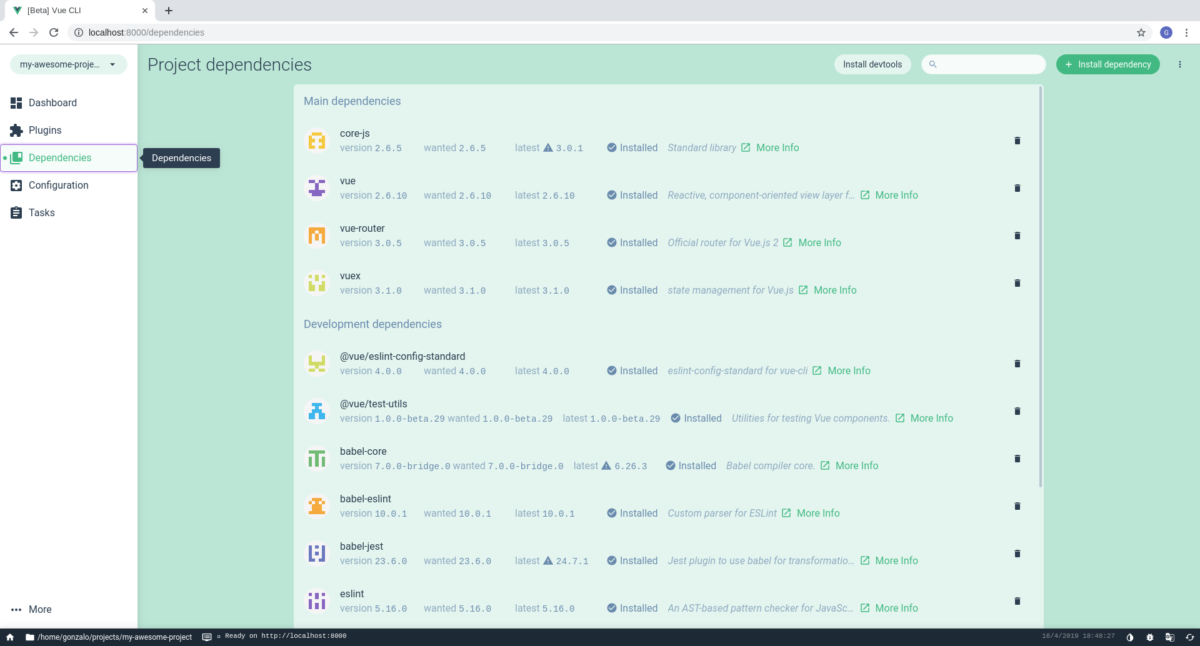
vue uiThis will open the web app in your default browser. Here you can manage your project’s dependencies, plugins or create new projects.
This was a really short introduction on vue-cli. You can further read the documentation https://cli.vuejs.org/guide and how to install and configure additional plugins https://cli.vuejs.org/guide/plugins-and-presets.html#plugins
Now you are ready to start your vue.js project!