Laravel Queues & Horizon Dashboard
In computer science queues is a technique for managing processes and objects in a computer. Knowing this we can say that queues are a sequence of work objects waiting to be processed. Also, queues are useful for taking jobs, pieces of asynchronous work, and sending them to be performed by some other process.
This is especially useful when making time-consuming API calls or calculations that you don’t want to make your web users wait for before being served their next webpage.
For example, if a user creates a profile and we want to send them an email, rather than having the web application send the email synchronously and making the user wait to see a thank you message, we can simply queue the job and return to the user immediately.
In this part of the post we’ll create a simple demo that shows how we can use queues in Laravel using Redis queue connection. Next, we’ll use Horizon to incorporate some additional configuration and monitoring capabilities to our queues.
SETTING UP
Before we set up our queue, let’s put a model in place so we can better understand how to communicate with queues. From the command line let’s create an Order model:
php artisan make:model Order
Do not forget to add a table name into the Model.
public $table = 'orders';
We’ll need a database table as well:
php artisan make:migration create_orders_table --create=orders
Let’s create some fields:
Schema::create('orders', function (Blueprint $table) {
    $table->increments('id');
    $table->string('name', 100);
    $table->integer('item_count')->unsigned();
    $table->timestamps();
});
Let’s fill the order table with some random orders using a factory.
php artisan make:factory OrderFactory
Edit OrderFactory.php, change the Model class to the App\Order class and fill in the name and item_count field with random data like this:
<?php

use Faker\Generator as Faker;

$factory->define(App\Order::class, function (Faker $faker) {
    return [
        'name' => $faker->name,
        'item_count' => rand(1,10),
    ];
});
Now let’s edit DatabaseSeeder.php and create some orders we can work with.
<?php

use Illuminate\Database\Seeder;

class DatabaseSeeder extends Seeder
{
    /**
     * Run the database seeds.
     *
     * @return void
     */
    public function run()
    {
        factory(App\Order::class, 50)->create();
    }
}
Now if we run our seeder, we’ll get 50 new orders added to the orders table.
php artisan db:seed
MAIL SETUP
Great, now that we have some underlying structure, let’s get our mail set up. We will show how to send mail as our queued job.
I’ll use mailtrap for this. If you haven’t used mailtrap before, you can sign up for a free account.
Once logged in maitrap, you’ll copy your username and password over to the Laravel .env file as MAIL_USERNAME and MAIL_PASSWORD.
Now let’s create a Mailable:
php artisan make:mail OrderShipped --markdown=emails.orders.shipped
Edit OrderShipped.php to use App\Order. Let’s pass in an Order object and store it as a public variable. It should look like this:
<?php

namespace App\Mail;

use Illuminate\Bus\Queueable;
use Illuminate\Mail\Mailable;
use Illuminate\Queue\SerializesModels;
use Illuminate\Contracts\Queue\ShouldQueue;

use App\Order;

class OrderShipped extends Mailable
{
    use Queueable, SerializesModels;

    public $order;

    /**
     * Create a new message instance.
     *
     * @return void
     */
    public function __construct(Order $order)
    {
        $this->order = $order;
    }

    /**
     * Build the message.
     *
     * @return $this
     */
    public function build()
    {
        return $this->markdown('emails.orders.shipped');
    }
}
Now let’s modify the emails/orders/shipped.blade.php file that we generated to look like this:
@component('mail::message')
# Introduction

Thank you {{ $order->name }}.  We just shipped {{ $order->item_count }} items.

@component('mail::button', ['url' => ''])
Track Order #{{ $order->id }}
@endcomponent

Thanks,
{{ config('app.name') }}
@endcomponent
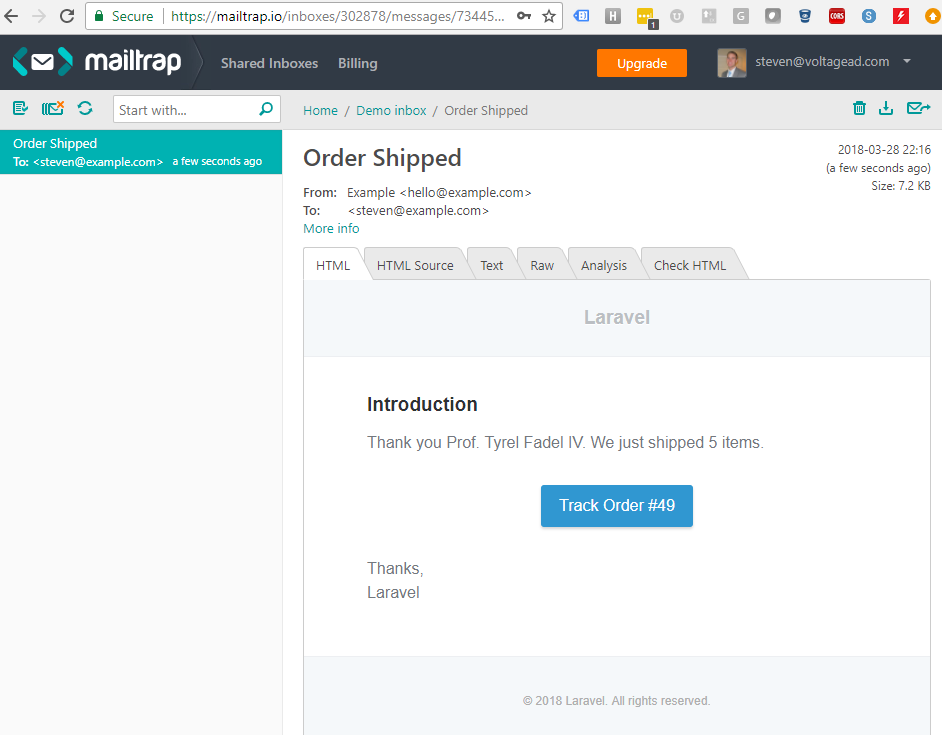
As you can see we include some of the order data in the email including the order ID, name and item_count.
In order to send the email, let’s create a route and a controller. Edit routes/web.php and add this line:
Route::get('mail', 'MailController@index');
Now create a mail controller:
php artisan make:controller MailController
Create an index function so your controller looks like this:
<?php
namespace App\Http\Controllers;
use Illuminate\Http\Request;
use Illuminate\Support\Facades\Mail;
use App\Mail\OrderShipped;
use App\Order;
class MailController extends Controller
{
public function index() {
$order = Order::findOrFail( rand(1,50) );
$recipient = '[email protected]';
Mail::to($recipient)->send(new OrderShipped($order));
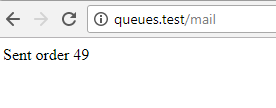
return 'Sent order ' . $order->id;
}
}
Now your MailController will find a random order (again, this is only for the sake of providing a queue demo) and mail it out. Navigate to http://your_project/mail and you should see something like this:
Take a look in mailtrap and you should see your message. Mine looks like this:
QUEUES
Neat, we’re all set up. Our application can send mail, but it’s not using queues. To demonstrate how to use a queue, let’s create a job that can be dispatched to a queue.
php artisan make:job SendOrderEmail
SendOrderEmail.php will be generated in Job app folder.
Note: As default since laravel 5.5 in your project structure you will see the Job folder. If you do not have that folder do not worry you can create one prior to run the artisan make:job command.
<?php

namespace App\Jobs;

use Illuminate\Bus\Queueable;
use Illuminate\Queue\SerializesModels;
use Illuminate\Queue\InteractsWithQueue;
use Illuminate\Contracts\Queue\ShouldQueue;
use Illuminate\Foundation\Bus\Dispatchable;

use Illuminate\Support\Facades\Mail;
use App\Mail\OrderShipped;
use App\Order;
use Log;

class SendOrderEmail implements ShouldQueue
{
  use Dispatchable, InteractsWithQueue, Queueable, SerializesModels;

  public $order;

  /**
   * Create a new job instance.
   *
   * @return void
   */
  public function __construct(Order $order)
  {
    $this->order = $order;
  }

  /**
   * Execute the job.
   *
   * @return void
   */
  public function handle()
  {
    $recipient = '[email protected]';
    Mail::to($recipient)->send(new OrderShipped($this->order));
    Log::info('Emailed order ' . $this->order->id);
  }
}
We can now rewrite our MailController to dispatch the SendOrderEmail job instead of sending the email directly.
<?php

namespace App\Http\Controllers;

use Illuminate\Http\Request;

use Illuminate\Support\Facades\Mail;
use App\Jobs\SendOrderEmail;
use App\Order;
use Log;

class MailController extends Controller
{
    public function index() {

        $order = Order::findOrFail( rand(1,50) );
        SendOrderEmail::dispatch($order);

        Log::info('Dispatched order ' . $order->id);
        return 'Dispatched order ' . $order->id;
    }
}
Re-run http://your_project/mail and you’ll get another email sent successfully to mailtrap. You just used a queue! Now looking at your .env file you’ll see that QUEUE_DRIVER is set to sync. In config/queue.php you can see all the queue driver options.
If you look in your laravel.log file you’ll see something like this:
[2018-03-28 22:22:18] local.INFO: Emailed order 20
[2018-03-28 22:22:18] local.INFO: Dispatched order 20
Note: Interesting that the “Emailed” line got logged before the “Dispatched” line. That’s because all code run synchronously. MailController.php dispatched SendOrderEmail which sent the email and logged “Emailed order” and then returned to MailController which then logged “Dispatched order.” This is a good time to check out Laravel’s documentation on queues.
REDIS
Redis is simply another key-value, in-memory database, similar to MongoDB. You can read more about it on the Laravel website.
If you need to configure it yourself, DigitalOcean has a good article.
Once you have all setup we can now continue to modify our .env file and change QUEUE_DRIVER from database to redis.
Now if you check queue.php config file, since our previous config change we will use the following connection to post jobs into the queues and store that into redis instance.
'connections' => [
    'redis' => [
        'driver' => 'redis',
        'connection' => 'default',
        'queue' => 'notification_emails',
         'retry_after' => 90,
    ],
],
Now if we wanted to check all this work being completed, meaning for this case emails being sent, we will need to log-in into redis a look for all (or any) transactions manually.
Imagine a real-life scenario where our jobs could fail and we need to re-trigger all our queue data. Panic!
Do not worry, Laravel takes care of you.
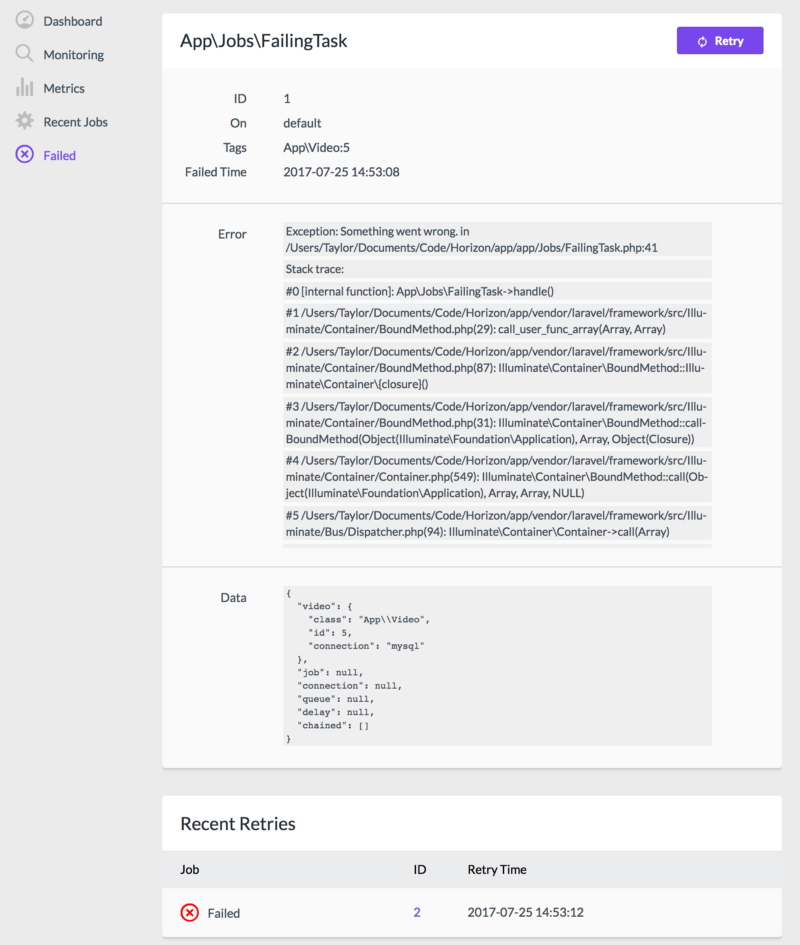
HORIZON
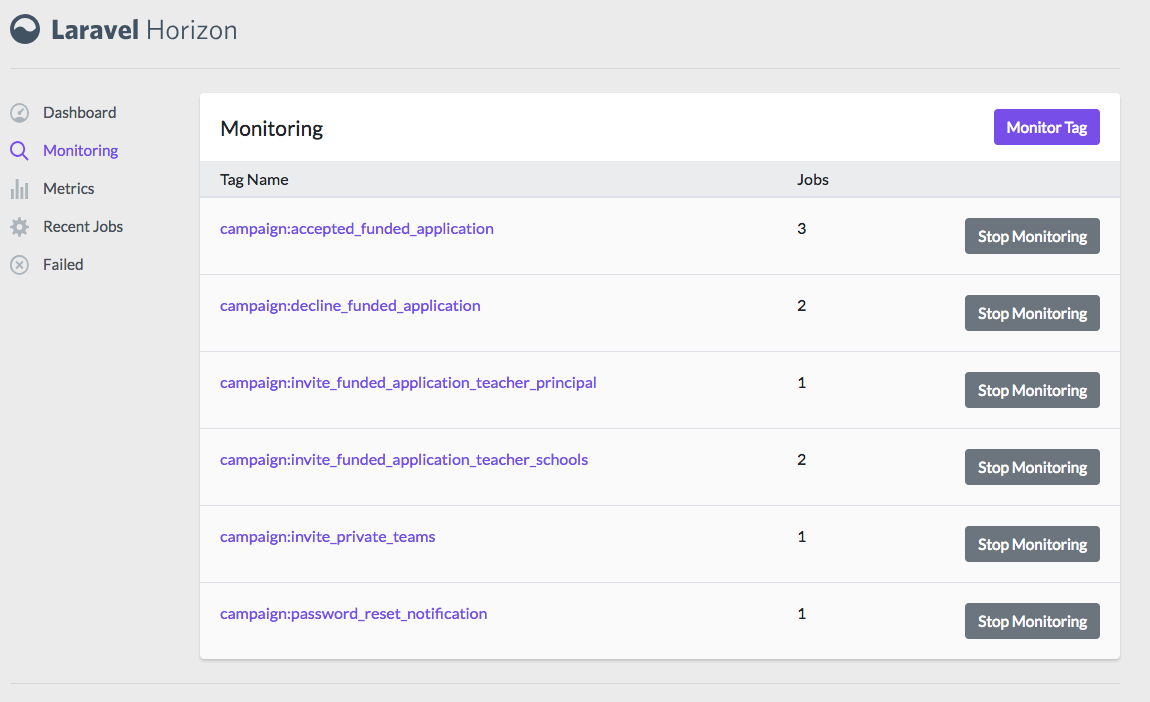
Is a queue manager that gives you full control over your queues, it provides means to configure how your jobs are processed, using different workers to generate analytics, and perform different queue-related tasks from within a nice dashboard.
In this part of the post we’re going to learn how to install Horizon, configure, boot process and job processing.
Installation:
composer require laravel/horizon

php artisan vendor:publish --provider="Laravel\Horizon\HorizonServiceProvider"
After installing Horizon, publish its dashboard assets using
php artisan horizon
This command scans your horizon.php config file and starts a number of queue workers based on these configurations:
Configuration:
'environments' => [
    'production' => [
        'supervisor-1' => [
            connection => "redis",
            queue=> ['notification_emails'],
            processes=> 3,
            tries=> 3,
            balance=> "simple", // could be simple, auto, or false
        ],
    ],
],
Note: Check that horizon.php config should match queue.php configs. Example queue attribute (both point to the actual queue notification_emails) and connection (both pointed to redis).
- processes: number of Workers allowed to run
- tries: number of retry attempts per job
- balance: Horizon allows you to choose from three balancing strategies: simple, auto, and false.
- simple strategy, splits incoming jobs evenly between processes.
- auto strategy adjusts the number of worker processes per queue based on the current workload of the queue.
- false the default Laravel behavior will be used.
Once we have all setup in place we can hit http://your_project/horizon to access the dashboard


Deploying:
If you are deploying Horizon to a live server, you should configure a process monitor to monitor the php artisan horizon command and restart it if it quits unexpectedly.
When deploying fresh code to your server, you will need to instruct the master Horizon process to terminate so it can be restarted by your process monitor and receive your code changes.
Supervisor Configuration
If you are using the Supervisor process monitor to manage your horizon process, the following configuration file should suffice:
[program:horizon]
process_name=%(program_name)s_%(process_num)02d
command=php /path_to_your_app/artisan horizon
autostart=true
autorestart=true
user=www-data //Normally www-data
redirect_stderr=true
stdout_logfile=/path_to_your_app/storage/logs/horizon.log
CONCLUSION
Queues implementation is an excellent option to solve in-line backend work processing to start doing it asynchronously. With horizon implementation we can improve queue throughput, performance, wait times, failures and, when a customer has a problem, it allows you to quickly find the job that failed and took decisions on how to proceed.
Such a great post! It was useful. Thanks